Progress has been very slow over the spring and summer due to being VERY busy with work and doing all the other activities that come with summer. Work has continued on the Heart River Bridge though and I have completed the bridge deck which was (as I mentioned in my original post) very challenging.
Here is a couple photos of the prototype deck...
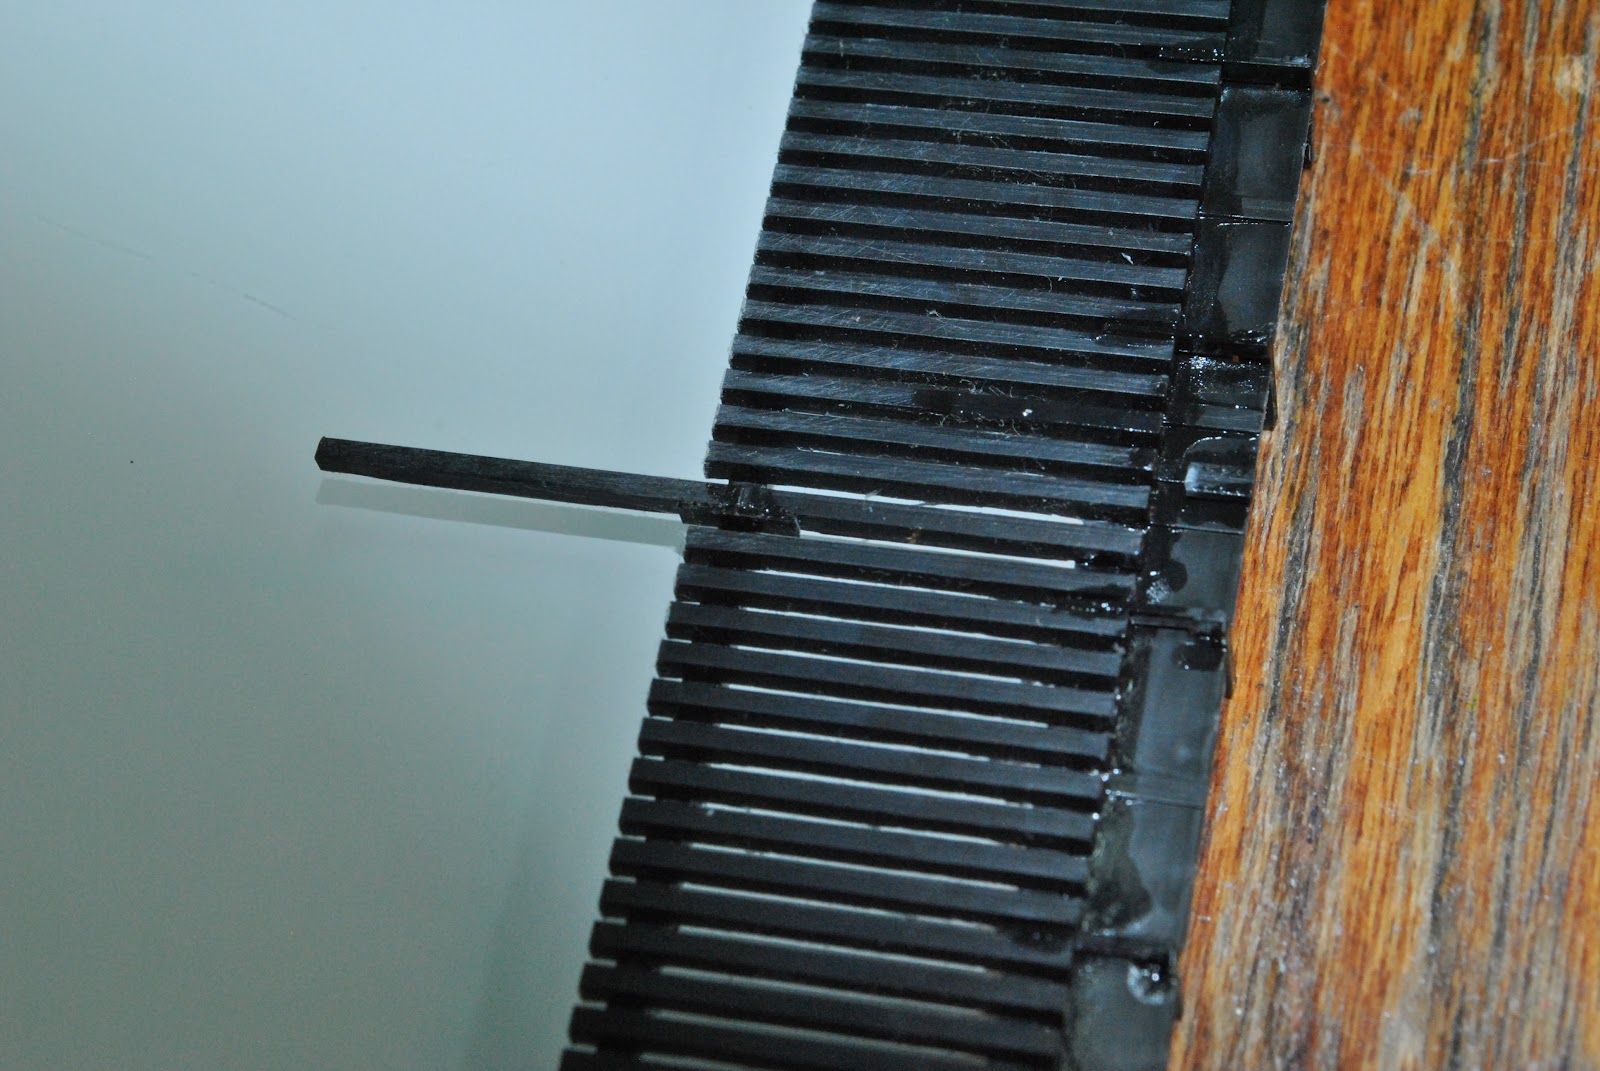
1. Closeup looking south

2. Overview looking south
.jpg)
3. As seen form the North East

The first order of business was to modify the the Central Valley ties strips which come as a separate kit with walkways and stanchions (Kit # 1811).

Ties had to be added as the tie strip leaves out 6 of the ties to fit the Central Valley bridge cross members. The ties were carefully cut from a sacrificial tie strip, sanded and glued into place. Attention was paid to ensuring that the tie plates all lined up for the future rails to be installed.

At every fourth section I also butted another tie to the end of the tie I added to simulate the extensions on the real bridge that carried the power lines across the valley, as seen in photo 1.
I cut the length of the ties that sit below the rails so that the joint would be hidden underneath the wood beam that parallels the rails and left the "extension" at full length. For strength I added a "fish plate" of plastic vertically across the joint.
As I progressed down the tie strip adding the ties I was also busy adding the walkway to the east side of the deck.
The walkways in the kit are almost perfect for this bridge... 2x10 planking. I decided to use these even though the "steel" stanchions included in the kit were not correct (the real stanchions and handrails were all made of dimensional lumber). The first step to building the walkways was to plug the gaps in the kit's walkway sections that are left to accommodate the upright parts of the bridge kit with a small piece cut from an unused part of the kit.

The stanchions come as mated pairs to make walkways on both sides of the original kit's deck. These I cut apart and used both parts created for the east side of the deck.
The stanchions fit between the ties (8 ties apart) and the small vertical tab molded into them ensures that they end up the proper distance from the deck to allow for the planking piece to fit properly
.

The next challenge with the walkway was to build the two platforms that extend from the walkway. The original purpose of these were to store barrels of water to be used in case of fires on the bridge as well as to give workers (or others) a safer, less scary, place to stand if they found themselves occupying the bridge deck at the same time as a train was passing. The barrels were removed once steam engines were replaced with diesels... the steam engines had a tendency to spew sparks from their smoke stacks which created the fire hazard.
I built these platforms by using 2 more stanchions from the kit and a cut out section of the planking parts. It was a little tricky to make these structurally sound but with some experimentation and the use of overlaps and "fish plates" (flat pieces that overlap 2 others) I was able to succeed.

Here's what I ended up with...

With the walkways, stanchions and power line beams in place all that was left to add was the handrails. For these I used scale lumber... actual wood... scale 2x4 for the top rail and edge and 2x6 for the centre rail.

I had a really hard time finding an adhesive that would glue the wood parts to the plastic parts. I tried CA (superglue) which the wood just absorbed. I tried 2 part epoxy but this just made globs. White glue did not make a strong enough bond and took forever to set. "Gorilla Glue" expanded after it was applied an made quite a mess of the job.
My wife overheard my swearing and came to the rescue... Being an artist, she has many cool products in her arsenal, one of which being polymer medium. She uses this product to add texture to her paints but she suggested I try it as an adhesive. It worked wonderfully... It was tacky enough to hold the parts in place when wet and it gave me about 4 or 5 minutes of setting time so that I could fine tune the placement of the railings. Once set, it created a very strong bond (so strong that I could lift the whole deck just by grabbing the handrails) and so little of it had to be used that it was virtually unnoticeable to the naked eye.
I highly recommend this product for these purposes. It is available in art supply shops and comes in a wide variety of consistencies, opacity and finishes (glossy to matte). I will also be experimenting with it for my water effects when the time comes to add my rivers, streams and ponds.

So here is the bridge up to this point... I tried to take the photo so you could compare it with the prototype photo #3 as seen above.

I promise to be more diligent in keeping you up to date with my progress... More challenges lie ahead and the next update on the Heart River Bridge will be painting, adding the rails and guardrails and actually placing it on the layout.
Be sure to check out the various links I have added to the sidebar... There is some very good modelling to be found there as well as other resources if you have an interest in the Northern Alberta Railways!
Mike
Hey Mike, It was great to meet you today at WGH. That bridge you have is looking awesome. I really like the way you used strip wood for the railing along the walkway. It looks great. I'm also eager to see the way you transition the lines from the phone poles to the supports on the bridge. It is already really impressive.
ReplyDeleteIt was a pleasure meeting you too, Nils... and the rest of the Silicon Valley Free-moN folks as well! I have added a link to your site! Thanks for the encouraging words and for showing me around your modules at the WGH show in San Mateo... It was inspiring and I learned a lot!
DeleteI will be posting an update on my Heart River Bridge once I get back from the Calgary RPM this coming weekend so check back here next week.
I did notice that I can incorporate the Free-moN standards into some of my modules so I'll have something to contribute if we ever have the chance to meet up again like that... or if a Free-moN group starts up here (which would be... AWESOME!)
Keep in touch!
Mike.